
TL;DR:
- Following a structured cleaning workflow protects furniture and extends its lifespan.
- Use the correct cleaning methods based on the fabric’s code to prevent damage.
- Regular DIY maintenance combined with professional cleaning ensures long-lasting, clean upholstery.
That musty smell from your sofa after a rainy Yarra Valley weekend, or the coffee stain that set in before you had a chance to blot it, these are the moments that make furniture feel like a liability rather than an investment. Most people reach for the nearest cloth and scrub hard, which is exactly the wrong move. A structured, step-by-step DIY upholstery cleaning workflow prevents costly mistakes, protects your fabric, and gets genuinely good results without guesswork. This article walks you through everything: what to prepare, how to clean each fabric type correctly, how to handle tricky special cases, and which mistakes quietly ruin furniture over time.
Table of Contents
- What you need before you start
- DIY upholstery cleaning: Step-by-step workflow
- Handling special cases and delicate fabrics
- Top mistakes to avoid for long-lasting upholstery
- Why a methodical workflow beats guesswork every time
- Get expert help when DIY isn’t enough
- Frequently asked questions
Key Takeaways
| Point | Details |
|---|---|
| Check fabric codes first | Always look for the label under cushions and follow the fabric care code to prevent damage. |
| Vacuum before cleaning | Removing dust and debris with a vacuum makes all further cleaning safer and more effective. |
| Blot, never scrub | Blot stains gently, use the right cleaner for each fabric type and never scrub to avoid fraying or spreading. |
| Let upholstery dry fully | Allow clean furniture to air dry completely before use—avoid heat and sunlight to protect fabric. |
| Call pros for tough jobs | If confronted with tricky stains, delicate fabrics or persistent odours, professional upholstery cleaners can help avoid damage. |
What you need before you start
Before you touch your furniture with any product, you need two things: the right supplies and the right knowledge about your fabric. Skipping either one is how upholstery gets ruined, even with the best intentions.
Understanding cleaning codes
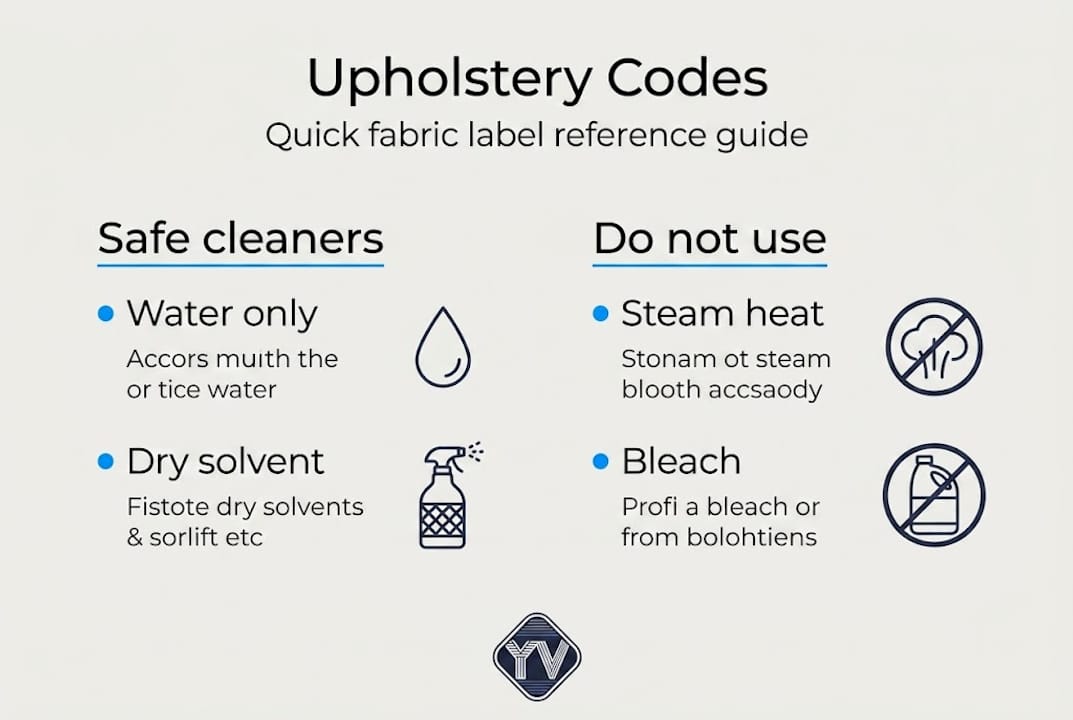
Every piece of upholstered furniture should have a tag, usually tucked under a cushion or on the underside of the frame. That tag contains a letter code that tells you exactly what type of cleaner is safe to use. The standard cleaning codes break down like this:
| Code | What it means | Safe cleaner type |
|---|---|---|
| W | Water-based cleaners only | Mild dish soap, water, vinegar solutions |
| S | Solvent-based cleaners only | Dry-cleaning solvents, no water |
| WS | Either water or solvent | Flexible, most DIY methods work |
| X | Vacuum only | No liquids whatsoever |
If there is no tag, or the tag is faded and unreadable, treat the fabric as an X code until you can confirm otherwise. You can also check the manufacturer’s website or find detailed upholstery cleaning instructions from a trusted source to identify your fabric type.
Your essential toolkit
For W and WS fabrics, gather these before you start:
- A vacuum cleaner with an upholstery attachment and crevice tool
- Mild dish soap (plain, no added bleach or citrus degreasers)
- White vinegar
- Clean white microfibre cloths (avoid coloured cloths that might transfer dye)
- A soft-bristled brush for loosening surface debris
- Baking soda for deodorising
- A spray bottle for controlled application
For S-coded fabrics, replace the soap and water with a purpose-made dry-cleaning solvent from your local hardware store. For X-coded fabrics, your only tool is the vacuum.
Patch testing: the step nobody skips twice
Always patch test any cleaner in a hidden area first, such as the back of the sofa or the underside of a cushion. Apply a small amount, wait a few minutes, and check for colour change, shrinkage, or watermarks. Understanding effective upholstery cleaning methods starts with knowing that one five-minute test can save you from permanent damage.
When cleaning a fabric sofa, always check whether the cover is removable and machine washable, which can dramatically simplify the process.
Pro Tip: Skipping the vacuum before applying any liquid is one of the most common mistakes made during DIY upholstery cleaning. Vacuuming first lifts loose debris and pet hair so your cleaning solution targets the actual stain rather than turning loose grit into muddy paste.
DIY upholstery cleaning: Step-by-step workflow
With your supplies checked and your fabric code confirmed, follow this workflow in order. Each step builds on the last, and skipping ahead tends to create more work.
Step 1: Vacuum thoroughly
Weekly vacuuming using an upholstery attachment, crevice tool for seams and under cushions, removes accumulated dust, debris and pet hair before they get ground deeper into the fabric. Use light brush strokes over delicate fabrics, and always vacuum before any wet treatment.
Step 2: Spot treat stains
This is where the fabric code really matters. Blot (never rub) stains with the appropriate cleaner. For W and WS fabrics, a DIY mix of warm water, a few drops of mild dish soap, and a splash of white vinegar works well for most common household stains. For oil or grease, apply baking soda or chalk first to absorb the oil, leave it for 15 minutes, then vacuum before applying any liquid.
For S-coded fabrics, use only a dry-cleaning solvent, applied with a clean white cloth. Always blot from the outer edge of the stain inward to avoid spreading it.
Step 3: Clean the broader surface
For W and WS fabrics, lightly mist the surface with your cleaning solution and work in small sections. Use a soft cloth or brush in gentle circular motions, then blot again with a dry cloth. Avoid saturating the fabric. For a comparison of the three main cleaning approaches:
| Method | Best for | Key risk |
|---|---|---|
| Water-based solution | W and WS codes, light stains | Over-wetting, watermarks |
| Solvent-based cleaner | S code fabrics | Fumes, flammability |
| Low-moisture / steam | W code only | Shrinkage if overused |
Step 4: Deodorise
Sprinkle a thin, even layer of baking soda across the fabric and let it sit for 15 to 30 minutes. This draws out embedded odours without adding moisture. Vacuum it all up using the upholstery attachment. For removing common upholstery stains that also leave a smell (such as pet accidents), combine spot treatment with this deodorising step for the best outcome.
Step 5: Dry completely
Air dry for at least four to six hours using fans, open windows, or air conditioning. Never use a heat gun, hair dryer on a high setting, or direct sunlight to speed up drying. Heat causes fabric shrinkage and can permanently set any residual stain. Exploring natural upholstery cleaning methods can also reduce drying time since they use less moisture overall.
Pro Tip: When blotting, press the cloth down firmly and lift straight up. Lateral rubbing or scrubbing spreads the stain outward and pushes it deeper into the fibres. Patience during blotting is what separates a successful spot clean from a bigger mess.
Handling special cases and delicate fabrics
Most of the steps above work well for standard fabric sofas and dining chairs. But Yarra Valley homes often have a mix of materials, from aged leather armchairs to modern microsuede, and each one has its quirks.
Leather upholstery
Leather needs its own approach. Use mild soap with a conditioner applied sparingly on a barely damp cloth, never saturate leather. Wipe in smooth, even strokes and follow with a dedicated leather conditioner to prevent drying and cracking. Avoid vinegar, which can strip the finish over time.
X-coded fabrics
If your furniture carries an X code, the rule is simple and non-negotiable: vacuum only, no liquids at all. Any moisture, including steam, can cause irreversible shrinkage, watermarks, or fibre distortion. Many X-coded pieces are made from natural fibres like silk or wool-blend velvets, which are genuinely sensitive to water.
Pet hair
After vacuuming, a lint roller or a slightly damp rubber glove dragged across the fabric picks up embedded pet hair that the vacuum misses. Understanding how upholstery cleaning works for pet-heavy households means accepting that pet hair removal is its own separate step before any liquid cleaning begins.
Delicate or valuable pieces
For antique chairs, embroidered cushions, or any piece you are genuinely uncertain about, stop before you start. The risk of permanent damage is real, and the cost of a professional clean is almost always far less than reupholstering or replacing a damaged piece. Knowing which upholstery fabrics suit your home also helps you make smarter purchasing decisions upfront so cleaning is easier in the long term.
When to call a professional: DIY is effective for maintenance and light stains on W and WS fabrics, but professionals are the better choice for S or X-coded items, heavy soiling, persistent odours, and delicate materials. They use precise tools, safe chemistry, and low-moisture methods that prevent the damage DIY attempts can cause.
What to watch for with any delicate item:
- Visible signs of colour bleeding during patch testing
- Fabric that feels stiff or brittle (may be fragile)
- Embroidery, beading or decorative stitching that could unravel
- Any furniture tagged as “dry clean only” anywhere on the label
Top mistakes to avoid for long-lasting upholstery
You can follow the right workflow and still cause damage if you fall into these common traps. These are the mistakes we see most often, and they are almost always avoidable.
-
Scrubbing instead of blotting. Scrubbing frays fibres and spreads stains wider and deeper. It feels productive but actively makes the problem worse. Always blot with firm, vertical pressure.
-
Over-wetting the fabric. Saturating upholstery pushes moisture into the padding and frame underneath, which can lead to mould growth, persistent musty odours, and watermark rings on the surface as it dries.
-
Using the wrong cleaner for the code. Applying a water-based solution to an S-coded fabric can cause immediate, irreversible damage including shrinkage and permanent watermarks. Bleach and ammonia on any upholstery can strip colour entirely.
-
Skipping the vacuum step. Vacuuming must always come first. If you apply liquid over loose debris or pet hair, you turn it into a dirty paste that gets pressed deeper into the fabric.
-
Ignoring the patch test. Even a product labelled “safe for all fabrics” can react badly with a specific dye or finish. A two-minute test in a hidden spot takes far less time than dealing with a bleached patch in the centre of your sofa.
-
Using heat to speed up drying. Avoiding heat during drying protects fabric integrity. Hair dryers, heated drying racks, or positioning furniture in direct sunlight can all cause shrinkage and colour fading.
-
Delaying action on fresh spills. Fresh spills are dramatically easier to remove than dried-in stains. The longer a liquid sits, the further it penetrates and the more it bonds with the fibres. Act within the first few minutes wherever possible.
Understanding these risks connects directly to broader lessons about carpet cleaning mistakes since the same principles about over-wetting and harsh chemicals apply to both surfaces. It is also worth understanding why upholstery cleaning is important beyond just aesthetics, since dirty upholstery harbours allergens, dust mites and bacteria that affect indoor air quality.
Pro Tip: Vinegar-based DIY mixes work well on mild W-coded stains, but always dilute them properly and patch test first. Undiluted vinegar can dull certain fabric finishes, and it should never be used on leather or S-coded materials.
Why a methodical workflow beats guesswork every time
Here is something most cleaning guides will not tell you: the majority of upholstery damage we see in homes across the Yarra Valley, from Lilydale to Healesville, was not caused by one big accident. It was caused by years of small, well-intentioned mistakes. Scrubbing a bit too hard. Using a product that was “close enough.” Letting furniture air out in direct sunlight. Each small error compounds over time until the fabric looks tired and worn well before its time.
The real value of a structured workflow is not just cleaner furniture today. It is protecting your investment over years. A good sofa or armchair can last fifteen to twenty years with proper care. That is not an abstract claim. It is what separates furniture that looks great at ten years from furniture that gets replaced at four.
We also think there is a tendency in DIY guides to present professional cleaning as something you only need when things go wrong. That undersells it. Even when your furniture looks clean, a professional cleaning approach using low-moisture techniques reaches into the padding and frame in ways a home vacuum cannot. Annual or biannual professional cleaning, combined with the DIY workflow described here, gives upholstery its best possible lifespan. Think of DIY as maintenance and professional cleaning as the service interval, not an emergency measure.
Get expert help when DIY isn’t enough
DIY methods are genuinely effective for regular maintenance and light stains on W and WS fabrics. But when you are dealing with an S or X-coded piece, a stubborn odour that baking soda cannot shift, or a cherished item you cannot risk damaging, it is time to bring in the professionals. At Yarra Valley Carpet Cleaning, we provide upholstery and carpet cleaning services across Lilydale, Mooroolbark, Chirnside Park, Croydon, Healesville, Yarra Glen and surrounding areas. Our team uses advanced equipment and eco-friendly products to deliver results that protect your furniture rather than risk it. Visit our spotless upholstery instructions page for more guidance, or get in touch with our residential carpet cleaning experts to book a consultation.
Frequently asked questions
How often should I clean my upholstery at home?
Vacuum weekly and spot clean stains as they appear; aim for a thorough deep clean every six to twelve months depending on how heavily the furniture is used.
What is the safest DIY cleaner for upholstery stains?
A mix of warm water, dish soap and white vinegar is safe for most W and WS-coded fabrics, but always patch test in a hidden area before applying it to a visible surface.
How do I stop upholstery from smelling?
Sprinkle baking soda evenly across the fabric, leave it for 15 to 30 minutes, then vacuum it up thoroughly. This method absorbs odours without introducing moisture.
Is it safe to use steam on all types of upholstery?
No. Steam is safe only on W-coded fabrics and should never be used on S or X-coded materials, where it can cause irreversible shrinkage, watermarks or fibre damage.
When should I call a professional upholstery cleaner?
Call a professional for S or X-coded fabrics, heavy soiling, persistent odours, or any piece you are unsure about, since professionals use low-moisture methods that significantly reduce the risk of damage.
Recommended
- Upholstery Cleaning Instructions for Spotless Results – Yarra Valley Carpet Cleaning
- How to Clean Upholstery Naturally for Spotless Results – Yarra Valley Carpet Cleaning
- 7 Essential Steps for a Thorough Upholstery Cleaning Checklist – Yarra Valley Carpet Cleaning
- Master the upholstery cleaning workflow: 8 steps proven – Yarra Valley Carpet Cleaning